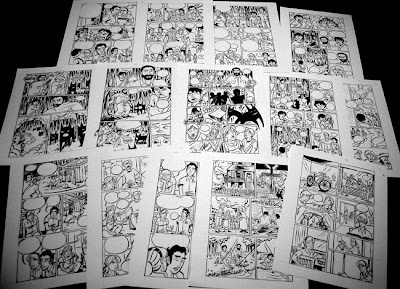
Finishing up my submission for the Art & Story 2011 Mini-Comics Dump Truck I thought I would post a bit of the process behind how I create a mini-comic.
I knew my finished mini would be roughly 4.25" x 5.5". I used the proportion wheel (shown above) to dictate how big my penciled pages could be. I ended up penciling all my pages at 6" x 7.5" allowing 2 pages per 11" x 14" sheet of strathmore bristol.
After pencils and inks were done I scanned all my pages as 450dpi tiffs into Adobe Photoshop where I could clean-up the art and add shading. I print all my mini-comics out on a small, HP laser printer...printing pages on one side and then re-feeding the sheets so the other side can be printed with other pages. So, Photoshop is also where I layout my printing template so once pages are printed and assembled the story is properly collated.
Since I am very visual person the best way to properly layout my Photoshop template is to make small mock-up. This maquette is tiny! It shows page numbers (the T stands for Transparency...which a couple of pages in this mini are printed on vellum), what pages go together and the direction those pages should face on the template.
Here's a sample of what my template looks like in Photoshop. The template is a 300dpi, 8.5" x 11" PSD file...allowing 2 comics from one printing.
Once my sheets were printed I was able to concentrate on my covers! For this mini I utilized two processes...I screen-printed the title and letterpressed a design.
Above shows the covers already screen-printed and trimmed for the letterpress. I have a small, table-top, clam press that makes small-run letterpressing a breeze! Here is my artwork transferred to a magnesium block (via services like Owosso Graphics), clamped into the 6" x 9" bed and ready for embossing.
Set up for assembly!
Edges trimmed to a clean 4" x 5" mini-comic with a heavy-duty, manual paper cutter.
And Voila! Copies of my newest mini-comic: I Dare You - 28 pages, Black & White


